Shimano pedal removal, the right way
To remove Shimano pedals properly, treat the left pedal as reverse-threaded and the right pedal as standard-threaded, then set the bike and cranks up so you can apply steady leverage without rounding the interface or punching a chainring.
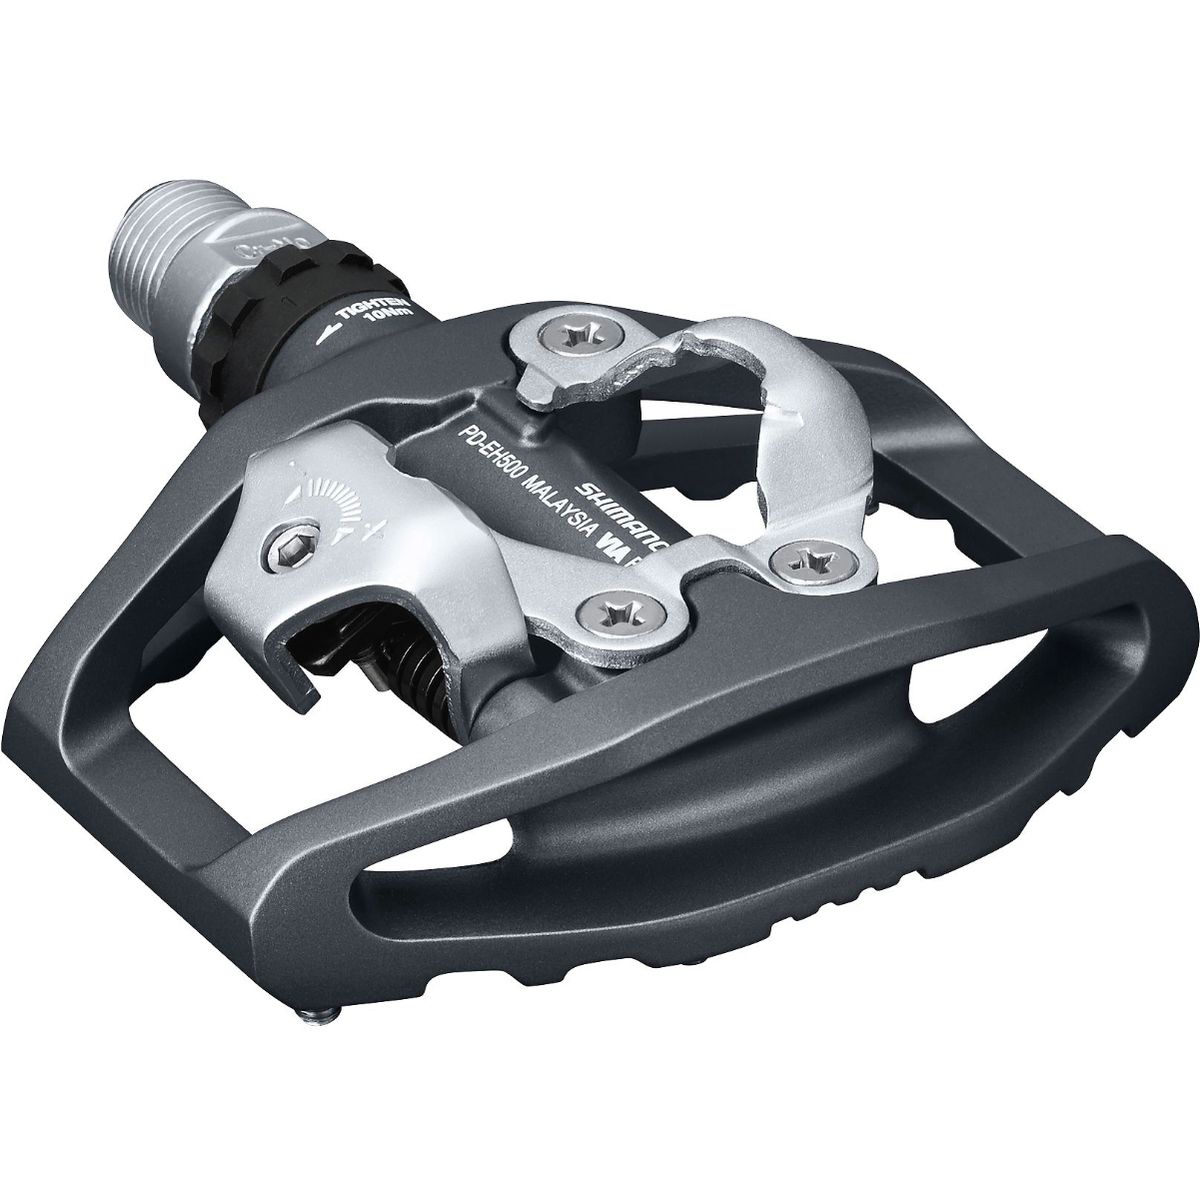
Two key rules keep it simple: both pedals loosen by turning the wrench toward the rear of the bike (toward the back wheel), and you’ll have a much better time if you use the interface that fits your pedal—many Shimano/SPD models use an 8mm hex from the back of the crank, while others use 15mm wrench flats.
Before you pull, give yourself a stable workspace and a safety margin. A long-handled pedal wrench can help when pedals are seized, and a tight-fitting hex key matters just as much when you’re using the back-side hex—slop is how hexes get stripped. If the pedal won’t budge, don’t keep reefing until something gives; escalate smartly with penetrating oil, more leverage, or controlled heat on the crank (careful around finishes), and stop if you feel the tool slipping.
Once the pedals are off, take two seconds to set yourself up for success next time: clean the threads and re-grease (or use anti-seize) before reinstalling so removal stays a “quick job” instead of a garage saga.
Step-by-step: remove Shimano pedals without drama
- Stabilize the bike. Put it in a stand if you have one, or lean it securely so it can’t roll. You want controlled force, not a tip-over.
- Shift to the big chainring. It gives you a little extra hand protection and space if you slip—still keep fingers clear of teeth.
- Find the interface. Check your pedal: many Shimano/SPD pedals use an 8mm hex from the back of the crank; others use 15mm flats. Use the one that fits cleanly.
- Set crank position. Put the crank you’re working on at 3 o’clock (pointing forward). This gives you a strong, stable push/pull line.
- Brace the opposite crank. Hold the other crank arm to keep the bike from rotating and to keep your force going into the threads—not into the drivetrain.
- Loosen in the correct direction. Remember: both sides loosen by turning toward the rear of the bike. Right side is standard thread; left side is reverse thread—same “toward the back” rule keeps it foolproof.
- If it’s stuck, escalate smart. Add penetrating oil at the crank/pedal interface and wait. Use a longer lever (long-handled pedal wrench or a carefully used cheater bar). If needed, apply controlled heat to the crank area (not the pedal body), and stop if the tool starts to slip.
- Last resort: bench control. If access is terrible or it’s seriously seized, remove the crank and use a bench vise for stability—better than twisting the bike around the garage.
- Reinstall correctly. Clean threads, apply grease (or anti-seize), start threading by hand to avoid cross-threading, then snug it down.
Quick safety notes
- Keep the tool fully seated—especially with an 8mm hex—to avoid stripping.
- If you feel rounding or sudden slipping, stop and reset before you damage the crank.
Tools that make stuck pedals behave
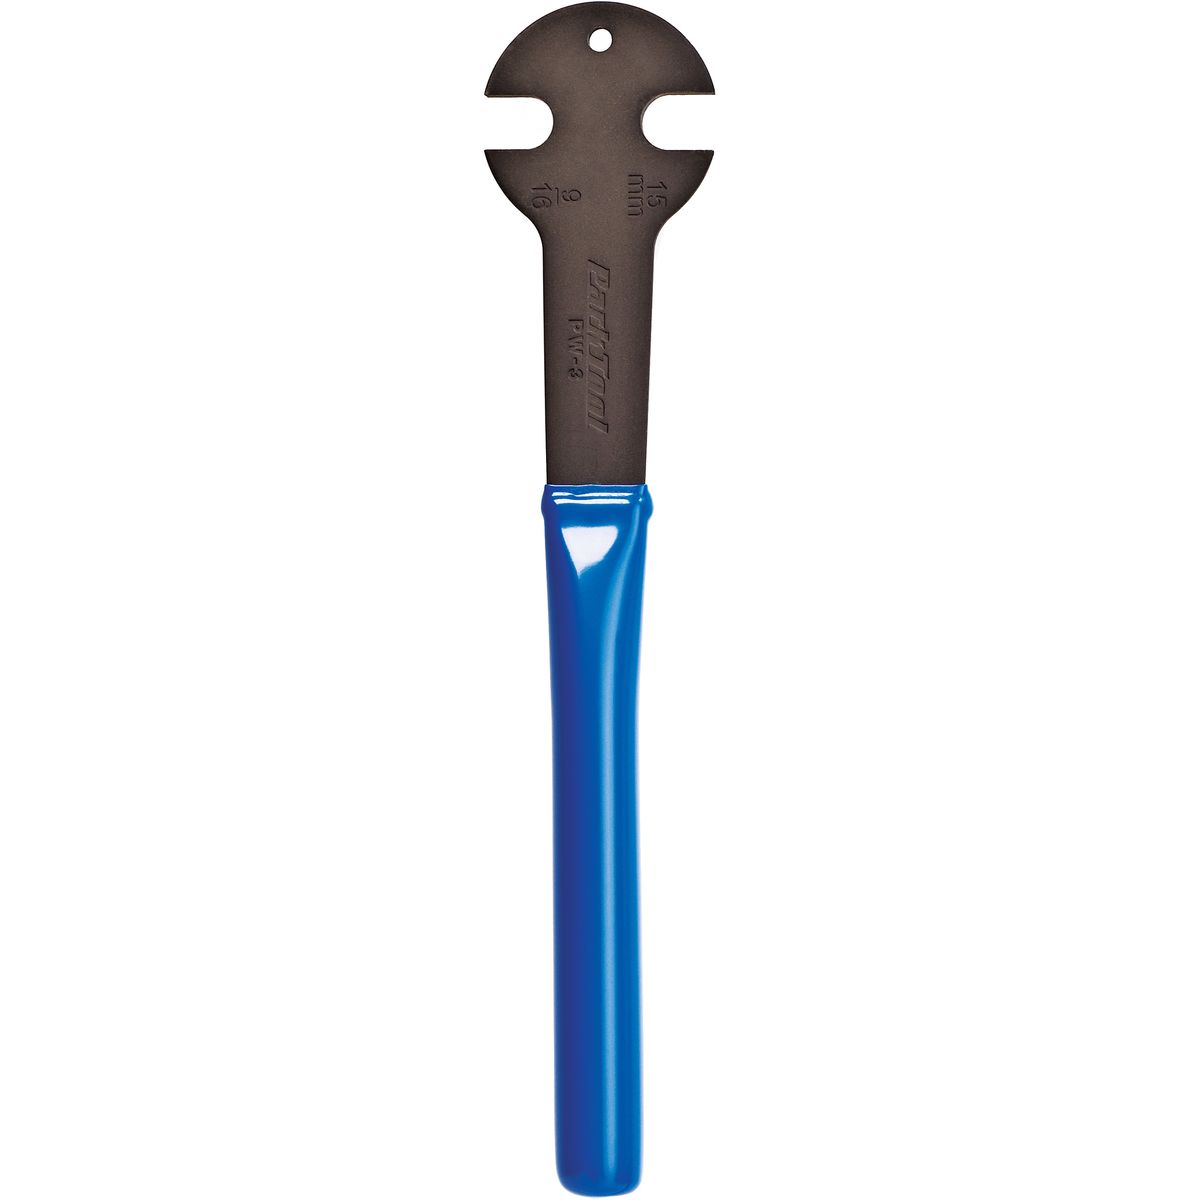
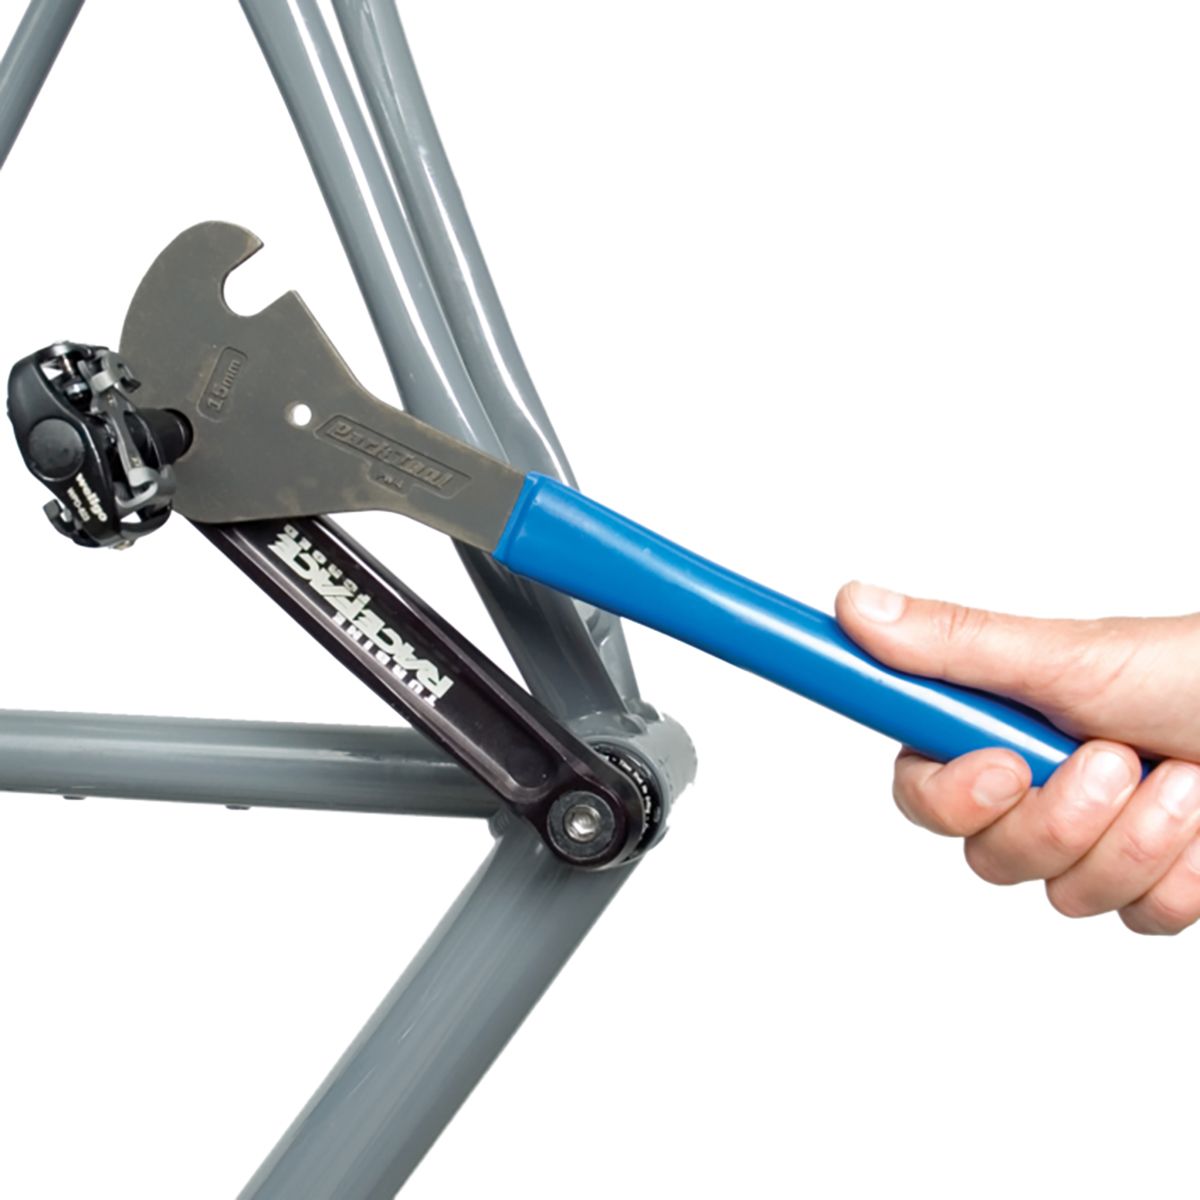
Pedal removal is mostly about fit + leverage + control. If your Shimano pedals have 15mm flats, a purpose-built pedal wrench gives you a long handle for torque and a thin head that gets into tight clearances. If your pedals use an 8mm hex from the back, prioritize a crisp, tight-fitting hex key (and keep it fully seated) so you don’t round the socket when things are stubborn.
Why a long handle matters
Seized threads happen—water, time, and “installed dry” are a powerful combo. A longer lever lets you apply the same torque with less strain and fewer sudden jerks. That’s especially helpful when you’re bracing the opposite crank and trying to keep everything aligned. The Park Tool PW-3 is built with a long handle and includes 15mm and 9/16in openings, while the Park Tool PW-4 uses 15mm offset openings at different angles to help you catch the flats even when the crank or pedal body makes access awkward.
Small habits that prevent big headaches
- Use the correct interface (15mm flats or 8mm hex) and make sure it’s fully engaged.
- Work smoothly—steady pressure beats a wild yank that slips.
- Reinstall with grease so removal stays easy and threads stay happy.
When you want it done right, not “good enough”
Backcountry is for riders who’d rather spend their energy on the ride than on fighting seized hardware. If you’re staring down a stubborn Shimano pedal, the right tool and a clean process save time, protect your crank arms, and keep your hands intact.
Need a second set of eyes before you crank on it? Tap a Gearhead® Expert for quick, real-world guidance—like whether your pedal is a 15mm-flats situation or an 8mm-hex-from-the-back job, and how to step up leverage without stepping into “new crank day.”
Grab the wrench that fits your setup, follow the loosen-toward-the-rear rule, grease on the way back in, and get back to what matters: turning pedals because you want to—not because you’re trying to remove them.